
How to Set Up Science Stations in Your Elementary Classroom
Setting up science stations in your elementary classroom doesn’t have to be chaotic. Once your system is in place, small groups rotate through hands-on activities independently while you work with one group, take observations, or simply have a moment to see what students actually understand.
In this post, I’ll walk you through everything: what science stations are, the eight station types in my sets, how to group your students, how to teach the rotation routine, and what to do when things don’t go perfectly the first week. Because they won’t, and that’s fine.
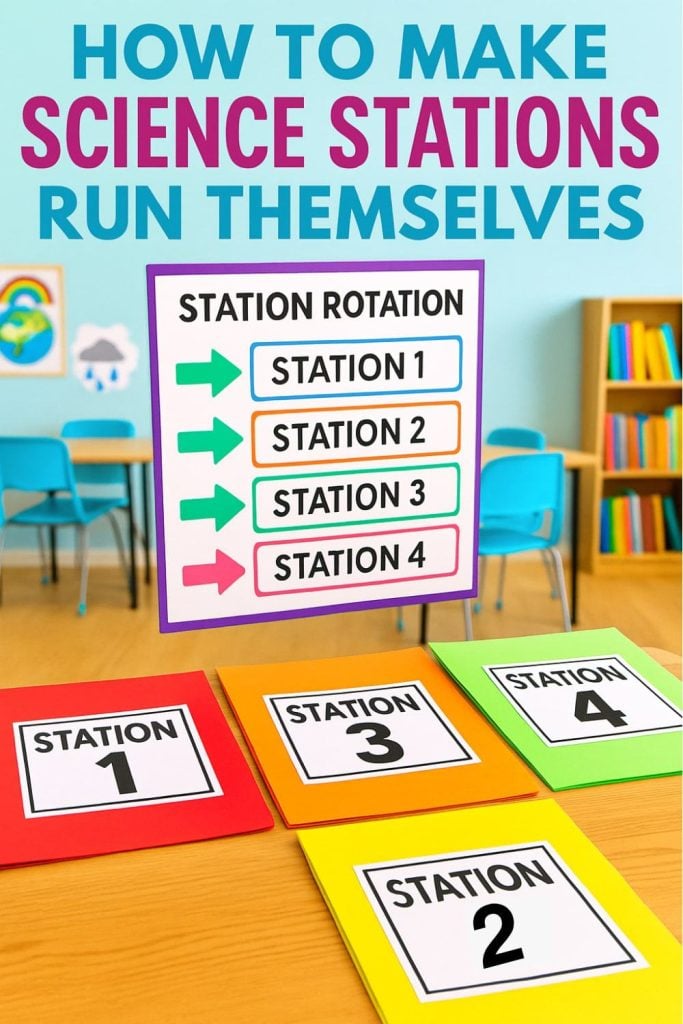
What Are Science Stations? (And Why They Work in Elementary Classrooms)
Science stations — sometimes called science learning centers or science centers — are a rotation system where small groups of students move through different hands-on activities at the same time. Instead of teaching the whole class the same thing simultaneously, each group works independently at a different station while you circulate, support, or pull a small group for targeted instruction.
In an elementary classroom, science stations give students the chance to interact with content in multiple ways: reading about a topic, watching a short video, building a model, sorting vocabulary cards, and recording observations. That variety isn’t just engaging — it’s also aligned to how the Next Generation Science Standards (NGSS) ask us to teach science. Students are doing science, not just hearing about it.
Every science station set in my store is built around eight station types, each with a consistent structure across all grade levels. Once students learn the system in second grade, they carry those same station habits into third, fourth, and fifth grade.
The 8 Types of Science Stations (And What Goes in Each)
Each unit in my science station sets includes eight stations, and each one is color-coded so students always know where they are and what type of work is expected. The colors are consistent across all grade levels and units, so students only need to learn the system once.
- Watch (blue): Students watch a short video using a QR code, then respond to a prompt or complete a graphic organizer. The video gives a different entry point for visual learners and for students who struggle with the reading station.
- Play (red): Students play a game to reinforce the unit’s topics. In 2nd-4th grades, video games are provided. All grades have a board game with questions and answers, a word search, and a crossword puzzle.
- Investigate (yellow): Students complete a hands-on activity, test a prediction, or make direct observations. This station often uses simple materials and has the most detailed direction card, so clear written instructions are especially important here.
- Diagram (green): Students create a diagram or visual model to represent the topic. This is a hands-on station where students cut, paste, and draw out the concepts.
- Read (purple): Students read an informational text passage about the concept — usually an article or fact sheet. This is where the science vocabulary gets introduced in context, and where students who need a quieter task can anchor their understanding.
- Model (orange): Students build, draw, or create something to represent the concept — a diagram, a 3D model, a labeled sketch. Getting hands and pencils involved helps concepts stick in a way that reading alone doesn’t.
- Explore (light blue): Like the investigate station, students complete a hands-on activity, experiment, or exploration that digs deeper into the topic and its concepts.
- Sort (pink): Students sort cards or pictures into categories. This might mean sorting animals into habitats, matching vocabulary to definitions, or organizing examples and non-examples of a science concept.
You don’t have to run all eight stations every time. Some teachers do two to four stations over a few days, rotating groups each session. Do what fits your schedule. The station types are the framework, not a rule.
The Investigate, Model, and Explore stations generally require extra materials and teacher support to complete the experiments. The Watch, Play, Read, Sort, and Diagram stations are generally more independent.
How to Group Students and Plan Your Rotation Schedule
Before you set up a single bin, figure out your groups. Group size directly affects how well stations run — too many students at one station, and they stop working; too few, and collaborative thinking disappears.
For most elementary classrooms, 2–4 students per station is the sweet spot. With eight stations and a class of 24, you get groups of 3 — a natural fit that keeps each station from getting crowded. If you have 32 students, groups of 4 work well at the same eight stations.
For timing, a general rule:
- Grades 2: 10-15 minutes per station. Short rotations keep energy up and attention from wandering.
- Grades 3–5: 15-20 minutes per station. Students can sustain focus longer, and the tasks tend to require more reading and writing.
You don’t have to complete all stations in one day or even one week. Many teachers run two or three stations per science block and cycle through all eight over a few days. Others do a full rotation on Fridays as a science review day. There’s no single right approach. Pick a schedule that works with your block and stick to it.
For the grouping strategy, I prefer mixed-ability groups for most station work. Students pick up on each other’s thinking, and the explanation goes more smoothly when there’s at least one strong reader in each group. Save leveled grouping for the small group instruction you do while others rotate — more on that below.
How to Prep Science Station Materials
Before you print everything on the prettiest cardstock you can find, think about what will help your students function without asking you 57 questions.
Here’s what to prep for each station:
- A labeled bin or folder for each station
- Direction cards with simple, student-readable steps
- All recording sheets in one place — clipboards or a stapled packet work well
- A “what to do when I’m done” card posted at each station
If you want the materials to last more than one use, laminate the direction cards and any sorting pieces. Store laminated cards in a labeled zip bag inside the station bin. You’ll spend 20 extra minutes in September and save yourself a full reprint every year.
The color-coding in my station sets does a lot of this work for you. Every station type has a consistent color across all grade levels, so when students see purple, they already know it’s a reading station before they even read the directions.

Teach the Station Routine First (Before Any Content)
Your students need to know how to do stations before they worry about what’s inside them. The first time you run stations with real science content, the routine should feel boring — they should already know exactly what to do.
Spend at least one or two full sessions doing practice rotations with easy, familiar content or blank direction cards. What you’re really teaching is this sequence:
- Walk to your assigned station.
- Read the direction card before asking anyone for help.
- Stay with your group and use voices appropriate for the space.
- Work through your recording sheet.
- When the timer goes off, clean up your station and rotate.
Model the whole sequence whole-group first — including what a clean station looks like before rotation. Then practice. Then do it again. Two days of practice rotations will save you three weeks of correcting behavior mid-unit.
One rule that helps across all grade levels: students must read the direction card before they ask for help. Post a reminder card at every station: “Did you read the directions? All of them?” Most questions answer themselves.
Start with 2–3 stations the first week. Add stations once the movement and procedures feel smooth. Day one doesn’t need the full circuit.

Managing Transitions: Timers, Rotation Charts, and Signals
Transitions are where stations fall apart without a system. Two things make transitions work: a timer students can see, and a rotation chart they understand.
For the timer, a visual countdown on the board — whether it’s a slide, a free timer app, or a projected website — lets students pace themselves and eliminates the “how much longer?” question. Set the same amount of time for every station in a session so rotations are predictable.
For the rotation chart, post it where every student can see it and review it before stations begin each day. It should show:
- Which group goes to which station first
- The rotation direction (always the same — clockwise, or numbered 1 → 2 → 3)
- Where each group ends up by the last rotation
For the transition signal itself, pick one method and use it every time: a chime, a clap pattern, flickering the lights, or a verbal cue. Consistency matters more than cleverness. Students who know exactly what the signal means will start cleaning up when they hear it without you saying a word.
One thing that helps with younger students: build the last 60 seconds of each rotation into the cleanup routine. “When you hear the chime, finish your thought and start resetting your station” is cleaner than “stop immediately and move.” Give them a moment to land.
Keeping Students Accountable Without Extra Grading
You don’t have to grade everything that comes out of science stations. For most station work, the goal is practice and exploration — not mastery assessment. Here’s what works for keeping students on task without creating a grading nightmare:
- Completion checklist: Students mark off each station as they finish. Simple, fast, and you can scan the room at a glance to see who’s falling behind.
- Highlight one piece of work: At the end of the session, each student highlights one response they’re proud of. Forces a moment of reflection without requiring you to read every paper.
- Stamp or sticker method: Before students leave a station, you (or a helper) stamp their recording sheet to indicate they attempted the work, not necessarily that it’s correct. This keeps them from skipping stations or rushing through to get to their favorite one.
- Exit slip at the end of the block: One question, two to three sentences, done. You’ll quickly see which concepts need reteaching the next day.
- Quick “show me” conferences: Float during the last five minutes of stations and ask two or three students to show you one thing they did. Fast, low-stakes, and it signals that you’re paying attention.
Accountability works best when it’s built into the station structure itself, not added on afterward. If students have a clear recording sheet to complete at every station, staying on task becomes the path of least resistance.
Using Science Stations for Small Group Instruction
Once your students can rotate independently, science stations open up something even more valuable: time for small-group work.
While seven groups rotate through stations on their own, you pull one group to a table near you for targeted instruction. This is the most powerful use of science stations, and it’s one most teachers don’t try until their second or third time running stations, which makes sense. You need to trust the routine before you can step away from managing the whole room.
What you do with your small group depends on what they need:
- Re-teach a concept the class struggled with in whole-group instruction
- Pre-teach vocabulary or concepts to ELL students or students who need a preview before the station work
- Extend thinking for students who are ready for deeper content. Ask more complex questions, push into the “so what” of the science idea
- Complete the hands-on station together with students who need more support or who have IEP accommodations that make independent work harder
Wait until students are comfortable with the routine — usually week two or three of the first unit — before you start pulling groups. And keep your small group table positioned so you can see the rest of the room. You’ll need to glance up occasionally, but you’ll be surprised at how independently a class can function once they trust the system.
Troubleshooting Science Stations: What to Do When Things Go Wrong
Stations will not run the first time perfectly. Or the second. Here are the most common problems and what actually helps:
Noise levels creep up. This is normal. Students are engaged and talking about science, which is genuinely good. But if it tips into ” can’t-hear-yourself-think ” territory, add a “voice level” card at each station (voice level 2: partner voice, not carrying to the next table). Use your transition signal as a noise reset, not just a rotation cue.
Students finish a station early. Every station packet should have a challenge prompt, an extension question, or a “now try this” on the back page. If you don’t have that built in yet, a simple rule works: if you finish early, go back and add detail to your answers. Don’t just write more — write better.
Students won’t read the direction card. Add a “First, do this:” step at the very top of every direction card, visually separated from the rest. During Week 1, practice reading directions as a whole group before students rotate. Over time, the habit builds, but you have to build it intentionally.
A student was absent during one rotation. Keep one completed recording sheet (teacher copy or a strong student example from a previous class) in a labeled “catch-up” folder. Absent students can work through the missed station independently during free choice time or the following day’s warm-up.
The hands-on station gets messy fast. Make “reset the station” the last step on the direction card — not something you remind students to do, but something built into the activity itself. Post a photo of what a clean station looks like at that bin. When students can see what “done” looks like, most of them will get there.
The messy middle is real, but it’s temporary. After a few rotations, you’ll find students are correcting each other, helping reset stations, and talking about science in ways that a worksheet simply can’t produce.
Frequently Asked Questions About Science Stations
Ready to Get Started?
All of our science stations are built for flexibility. Whether you rotate through 2 stations a day or do them all in one go, the structure is already in place—you just need to build a routine that fits your classroom.
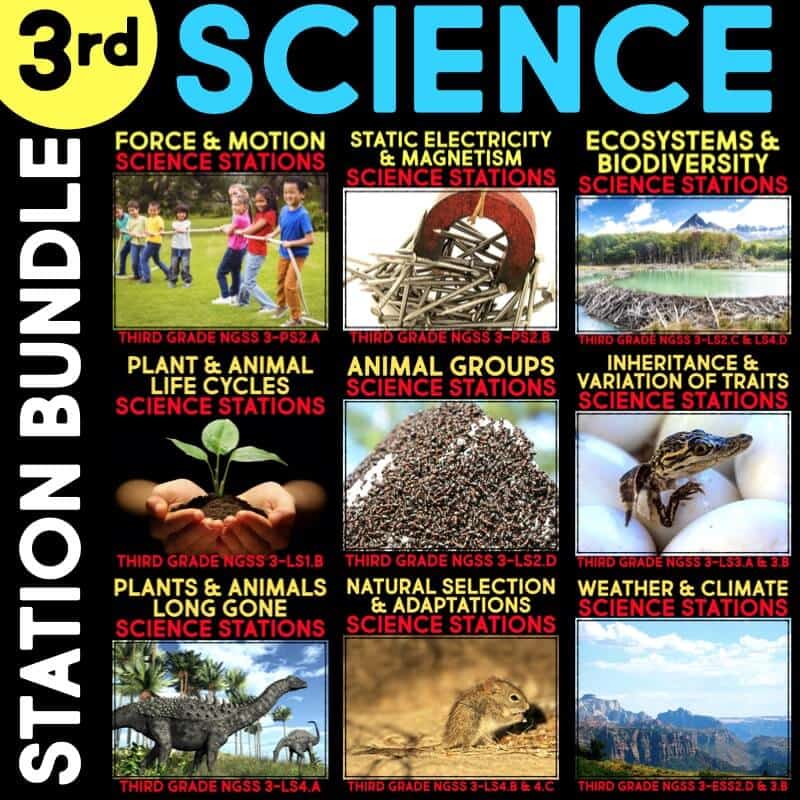
Grade Level Science Station Bundles
-
Third Grade Science Stations BUNDLE
Original price was: $222.12.$111.84Current price is: $111.84. -
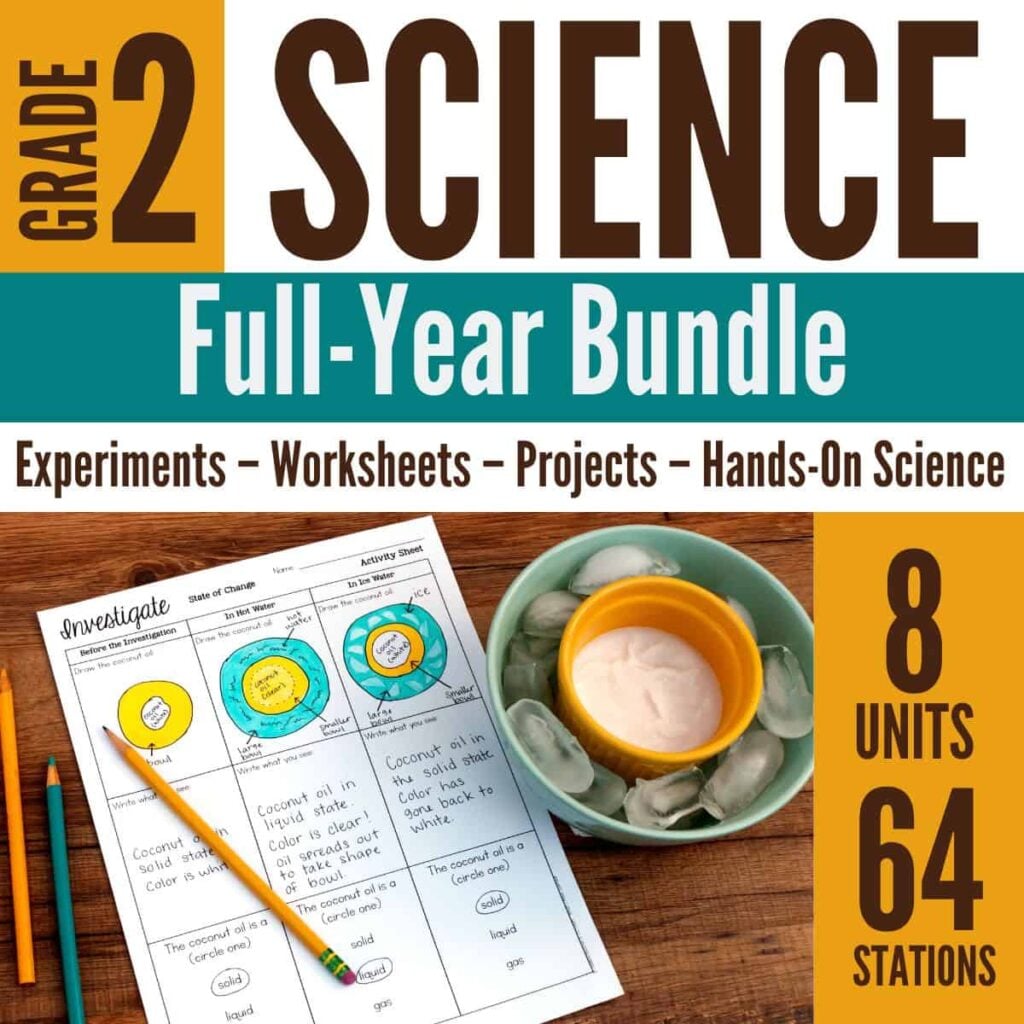
Second Grade Science Stations BUNDLE – ALL Next Generation Science Stations
Original price was: $173.43.$109.44Current price is: $109.44. -
4th Grade NGSS Science Station Yearlong BUNDLE
Original price was: $287.57.$159.00Current price is: $159.00. -
5th Grade NGSS Science Station Yearlong BUNDLE
Original price was: $316.00.$177.87Current price is: $177.87.


Jessica BOschen
Jessica is a teacher, homeschool parent, and entrepreneur. She shares her passion for teaching and education on What I Have Learned. Jessica has 16 years of experience teaching elementary school and currently homeschools her two middle and high school boys. She enjoys scaffolding learning for students, focusing on helping our most challenging learners achieve success in all academic areas.