
How to Teach Map Skills in 1st, 2nd, and 3rd Grade
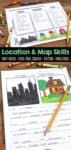
Teaching map skills in the primary grades gives students a framework for understanding the world around them — starting with their own classroom and expanding outward to communities, countries, and beyond. For first, second, and third graders, the most effective approach builds skills progressively: begin with a classroom map they helped create, move to the school, then to North America, and finally to comparisons between urban, suburban, and rural communities.

This unit follows California Second Grade Social Studies standards but works in any state. It also pairs well with the Long Ago & Now Social Studies Unit, which focuses on comparing past and present, and both units are available together in a Social Studies Bundle.
What Are Map Skills?
Map skills are the abilities students use to read, interpret, and create maps. In the primary grades, this includes reading a map key or legend, using a grid to locate places, identifying physical features like mountains and rivers, and understanding how a map represents a real space. Teaching these skills sequentially — classroom, school, community, continent — gives students a concrete foundation before moving to abstract concepts.
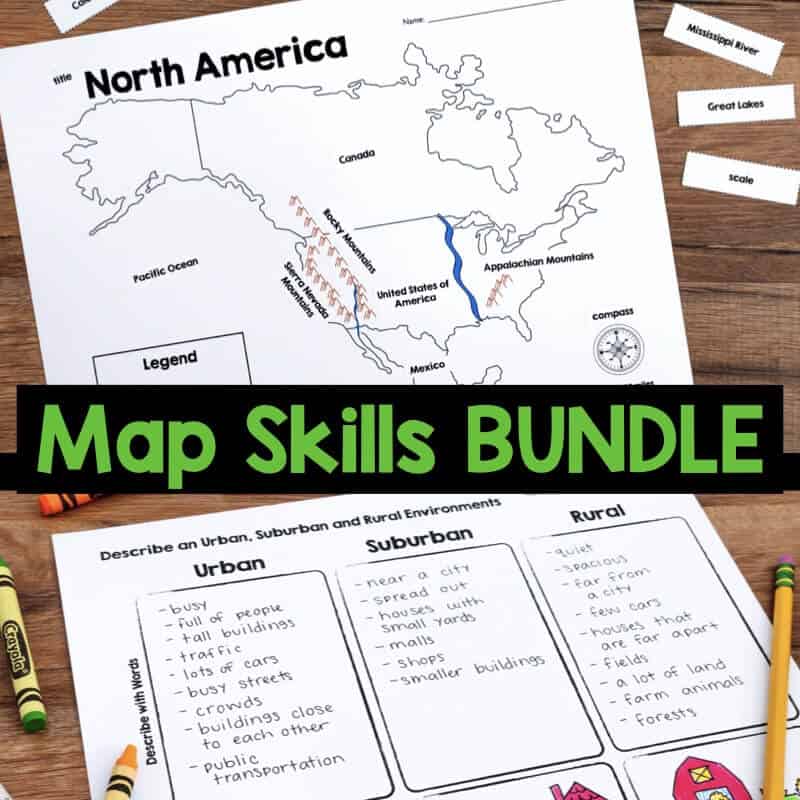
Map Skills and Location – Urban, Suburban, and Rural BUNDLE
A social studies unit that helps students learn map skills with fun, interactive activities.
Included in this unit are four sections:
- Letter Number Grid Maps
- Map of North America
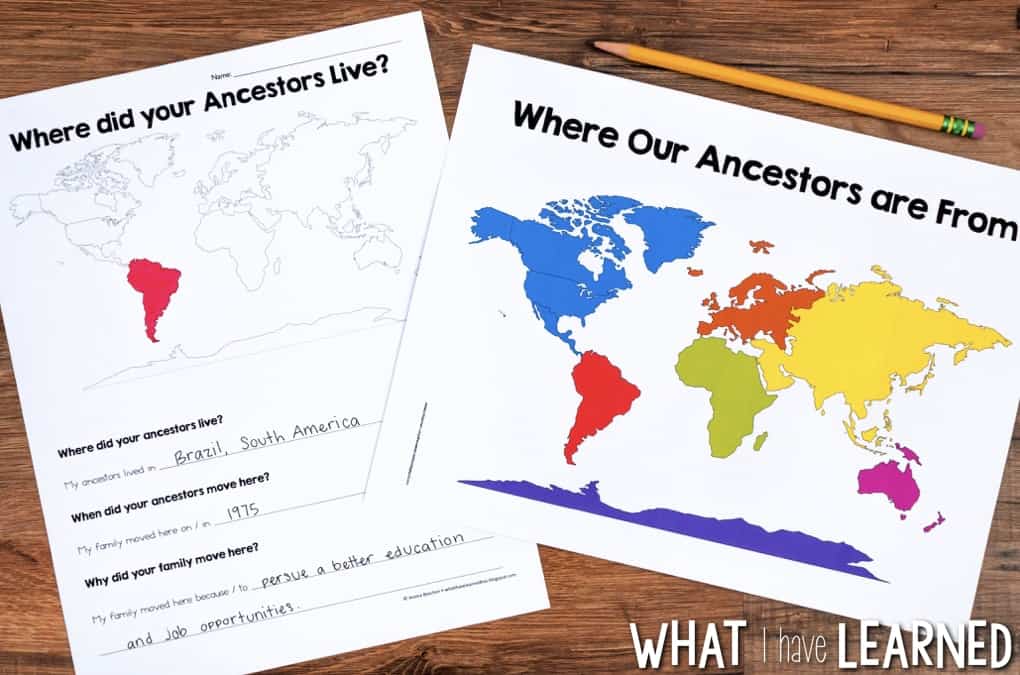
- Where Did Your Ancestors Live
- Rural, Urban and Suburban Communities
Teaching Grid Maps: Start with the Classroom
Grid maps are an ideal starting point for primary students because they connect directly to a space students already know: their own classroom.
The Classroom Map Activity
Students and the teacher work together to create a classroom grid and discuss the placement of furniture in their classroom. I draw the grid on a large piece of butcher paper and with the included furniture templates, we talk about where to place the classroom furniture.

Here’s what my classroom looks like sans desks. Students then write their names on a template of their desk and we place the desks on the grid.
Using the classroom map, we ask and answer questions about the map. I have students ask and answer questions as a whole group first. Then I use a think-pair-share routine and students ask and answer questions of each other. The goal is to develop oral language around discussing locations on a grid map. We do a lot of practice with naming a location.
Expanding to the School Map
After we complete the classroom map, I present students with a map of our school. We use the same routine of asking and answering questions and I design this as a think-pair-share-swap. Students rotate around the room, find a partner, ask their question, then swap the questions and find a new partner. Here are some examples of the questions for the swap.

I’ve also included a worksheet where students answer questions in written form.

Building Grid Map Fluency
To provide students with even more practice, worksheets are included with varying degrees of difficulty. Here are a few examples.


Teaching North American Landforms
I do this next activity in several ways. In the early days, I did a directed cutting activity with construction paper. We would cut mountains, rivers, etc. out of paper and glue them to a North America map template.
Now I provide students with a blank map below. We discuss the legend and symbols that can be used for rivers and mountains. I tell students where major landforms are located and we draw them on the map. Students then use the included labels to identify major landforms in North America. We discuss map features during this time, as well.

Connecting Maps to Family History
This is a fun activity that can be completed little-by-little over several days. Toward the beginning of our map skills unit, I send home this parent letter that asks parents to help their child learn about where their ancestors came from. Student or parents write answers to the questions.

At some point during the unit, I have students reflect individually on where their ancestors lived and locate that place on a map.

As a class, we discuss each individual’s family and mark the location on a class map. This makes a great community building activity. It’s fun to see where every students’ family used to live.
Teaching Urban, Suburban, and Rural Communities
This section is one of the most language-rich parts of the unit and works particularly well with English learners because of the built-in vocabulary scaffolding and sentence frames.
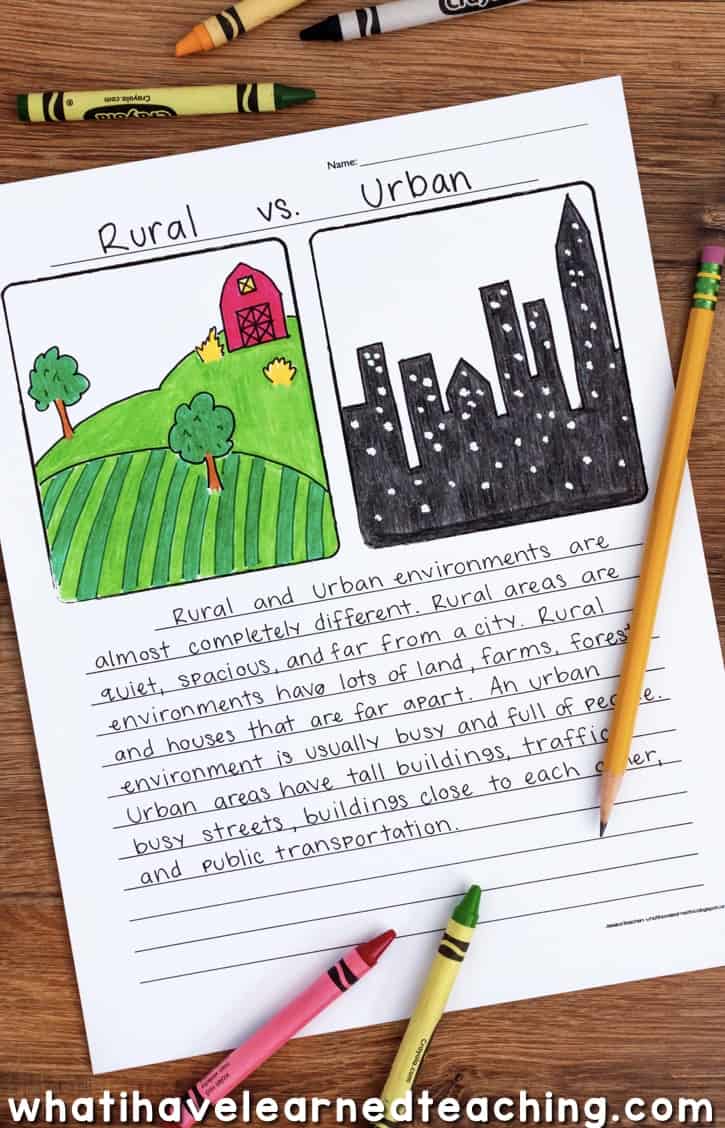
For instance, in the Rural, Urban, and Suburban section, students first learn to describe each environment with words. They then write a description and a comparative paragraph (or sentence).
Sentence frames are provided for both the description and comparative paragraph. Use as little or as much scaffolding as you need for your students.

I generally create anchor charts of most of these graphic organizers. For the one above, we will read different articles or magazines that describe the different communities. As we read details about each community, I will record it on the anchor chart and students will record details on their sheets.


At some point in the unit, I ask students to choose two communities to compare and contrast. I model this using a Venn diagram and students complete their own Venn diagrams of their chosen communities.
I provide students with different writing sheets based on their writing level. My lowest students have sheets with one sentence (not pictured). My grade level students generally receive sheets like the one above, with scaffolded sentence frames. After filling in the sentence frames, students are more equipped to writing a paragraph that combines the sentence frames (see below). I vary the complexity of the writing every year, depending on the needs and ability levels of my students. This is generally the second time students have used compare and contrast in nonfiction text this year.
Map Skills and Location – Urban, Suburban, and Rural BUNDLE
A social studies unit that helps students learn map skills with fun, interactive activities.
Scaffolding Vocabulary and Writing
Here is a sample of some of the anchor charts that we use in our classroom. We brainstorm a list of words for each environment. Forgive the messiness of the anchor charts. It was created with students and these are all these are all of their ideas on the list.
From this list, we discuss how to accurately describe the attributes. For instance, one student had given me the word “buildings” for Urban. We discussed how all three environments have buildings but clarified the type of buildings in an Urban environment.
After making lists of words for each environment, we start creating our sentences. We list words under are/have to help students create sentences and I also provide sentence frames. Initially, we do a lot of oral practice activities with the sentences. Then we take it to writing, as shown above.

Map Skills and Location – Urban, Suburban, and Rural BUNDLE
A social studies unit that helps students learn map skills with fun, interactive activities.
Map Skills Resources for 1st, 2nd, and 3rd Grade
If you’d like a ready-to-use unit that walks through each of these teaching sequences with all materials included — classroom map templates, furniture cutouts, North America maps, ancestor letter, and urban/suburban/rural writing scaffolds — the full unit is available below.
This Map Skills Unit can be purchased on my website or on Teachers Pay Teachers. It is also part of a larger Social Studies Unit BUNDLE.
Other Social Studies Units that are available:


Thank you for sharing the great insight about the location and map skills education. The units and the photos shared are understandable and easy to learn.
can you please help me how to make map worksheet on geography of the muslim worldd
That is not part of my expertise. You may be able to find several images that meet your needs via google.
thanks can u suggest som websites related to this topic