
Teaching Landforms in 2nd Grade: Activities, Crafts, and Resources
Second grade teachers typically encounter landforms 2nd grade content in two places: social studies, when students learn to read and label physical maps, and science, when students study how wind and water reshape Earth’s surface.
This post covers both, with hands-on activities and resources for each part of your unit.
What Are Landforms? A Directed Cutting Activity
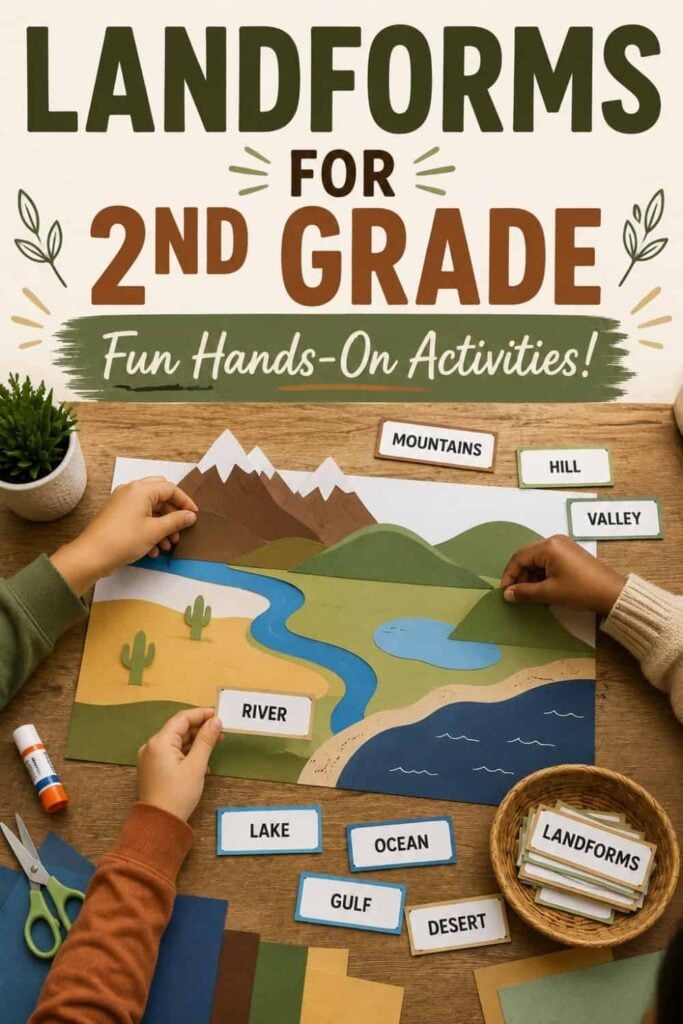
One of my favorite ways to introduce landform types is through what I call directed cutting. It works like directed drawing, but instead of pencils, students use scissors and construction paper to build a scene that shows multiple landforms at once. Not only do students learn the content by labeling the finished diagram, but they also practice cutting skills — a skill that needs regular attention in the early grades.

To prepare, I cut construction paper into smaller rectangles before class so students start with manageable pieces rather than full sheets. You will need these colors: brown for mountains and hills, yellow for deserts, dark blue for oceans and large lakes, light blue for rivers and smaller lakes, green for valleys and plains, and a large sheet of white for the background.
Day 1: Cut and Build
Walk students through cutting each landform shape one at a time. Mountains and hills are rounded or pointed cuts along the top edge of a brown rectangle. Rivers are long curved strips cut freehand. Lakes are ovals. Deserts are flat yellow expanses. Guide students on where to glue each piece as they go.
I recommend making a template for yourself first so you have a reference as you lead the class through each cut. The cuts are simple — the goal is to build a visual scene students can reference and label.
We created landforms for these eight features:
- Mountains
- River
- Lake
- Ocean
- Gulf
- Desert
- Hill
- Valley
You can add or swap features depending on which landforms your curriculum covers.
Day 2: Label
On the second day, I give students a set of label strips, each with a landform name and a short definition. Students cut the strips apart and glue each label to the correct feature on their diagram.
Separating cutting and labeling into two days gives you more time for discussion. A lake is surrounded by land on all sides. A gulf is part of the ocean that cuts into the land. A river always flows toward a larger body of water. These distinctions are easier to solidify once students have a finished diagram in front of them.
Landforms and Bodies of Water
Once students can identify individual landforms, the next step is to distinguish landforms (land features) from bodies of water. This comparison comes up repeatedly on physical maps, and students need to recognize both when reading and labeling.
A model or sorting activity works well here. Students place or sort visual representations of landforms and bodies of water side by side, then articulate what makes each one a land feature or a water feature. This hands-on step gives students a concrete reference before they encounter the same concepts on a flat map.
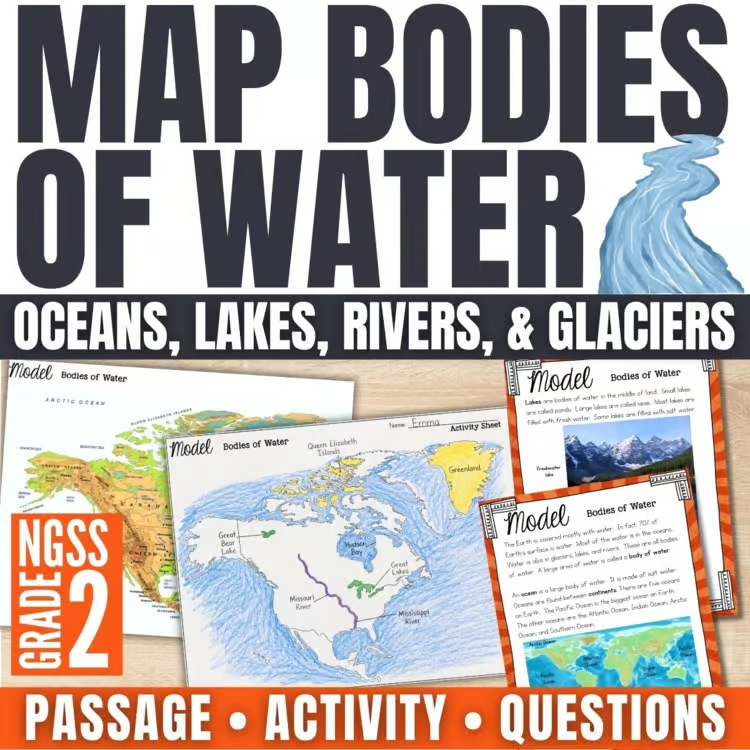
MODEL Bodies of Water Landforms 2nd Grade Map Activity is a ready-made activity for this part of the unit.
Labeling Landforms on a Map
After students can identify individual landforms and bodies of water, they apply that vocabulary to a real physical map. In my Location and Map Skills unit, students practice reading a coordinate grid and labeling landforms and bodies of water on a physical map of North America.
Connecting the vocabulary to real places makes the concepts stick. Students who have labeled “mountains” on a construction-paper diagram understand the term differently once they find the Rocky Mountains and the Appalachian Mountains on a map of North America. The same goes for the Gulf of Mexico and the Mississippi River.

Map Skills and Location Social Studies Unit | Grid Maps & North America
Help students build foundational geography and location skills with this Map Skills and Location Social Studies Unit. Students explore letter and number grid maps, classroom maps, school maps, neighborhood maps, North American landforms, essential map components, and family heritage through scaffolded activities with vocabulary cards and sentence frames.
How Do Landforms Change?
In 2nd grade science, students learn that wind and water shape and reshape Earth’s surface over time. This is where the social studies vocabulary pays off: students already know what a mountain, river, and beach look like, so they can focus on the agents of change and the timescale.
The central concept is fast versus slow changes. Some landform changes happen quickly — a flood carving a new path through soil, or a landslide depositing material at the base of a hill. Others take thousands or millions of years, like a river slowly cutting a canyon or a glacier carving a valley. Making this distinction explicit is important because students often assume all natural change is slow.
A few activities that work well for this part of the unit:
Reading passages that describe specific agents of change (wind, water, ice) and the landforms they create or erode. The Changing Landforms 2nd Grade Reading Passage pairs a nonfiction text with comprehension questions and gives students practice identifying cause and effect relationships between agents of change and the landforms they affect.
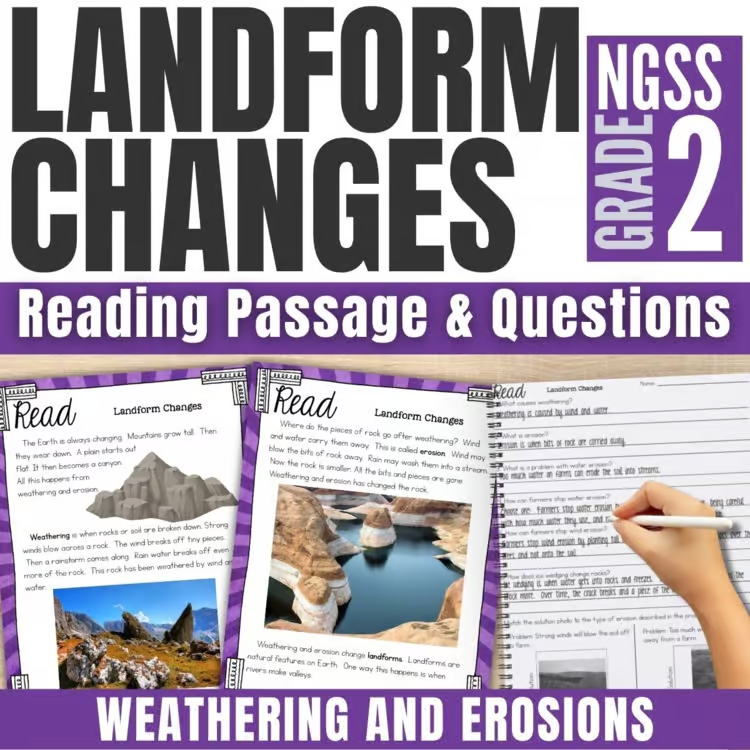
Designed for 2nd grade learners, this resource introduces how wind, water, ice, and gravity cause slow changes to landforms over time.
Sort activities where students categorize examples as fast or slow changes. The Fast and Slow Earth Changes Sort is a low-prep cut-and-paste activity that works well as a formative check after reading.

Hands-on experiments that model erosion. Running water over a tray of soil, or blowing across a pile of sand, gives students a visual reference for how wind and water move material over time.
If you are looking for a complete sequence for the science side of this unit, the Processes Shape Earth Science Curriculum includes reading passages, sorts, activities, and assessments for the full landforms and weathering unit.
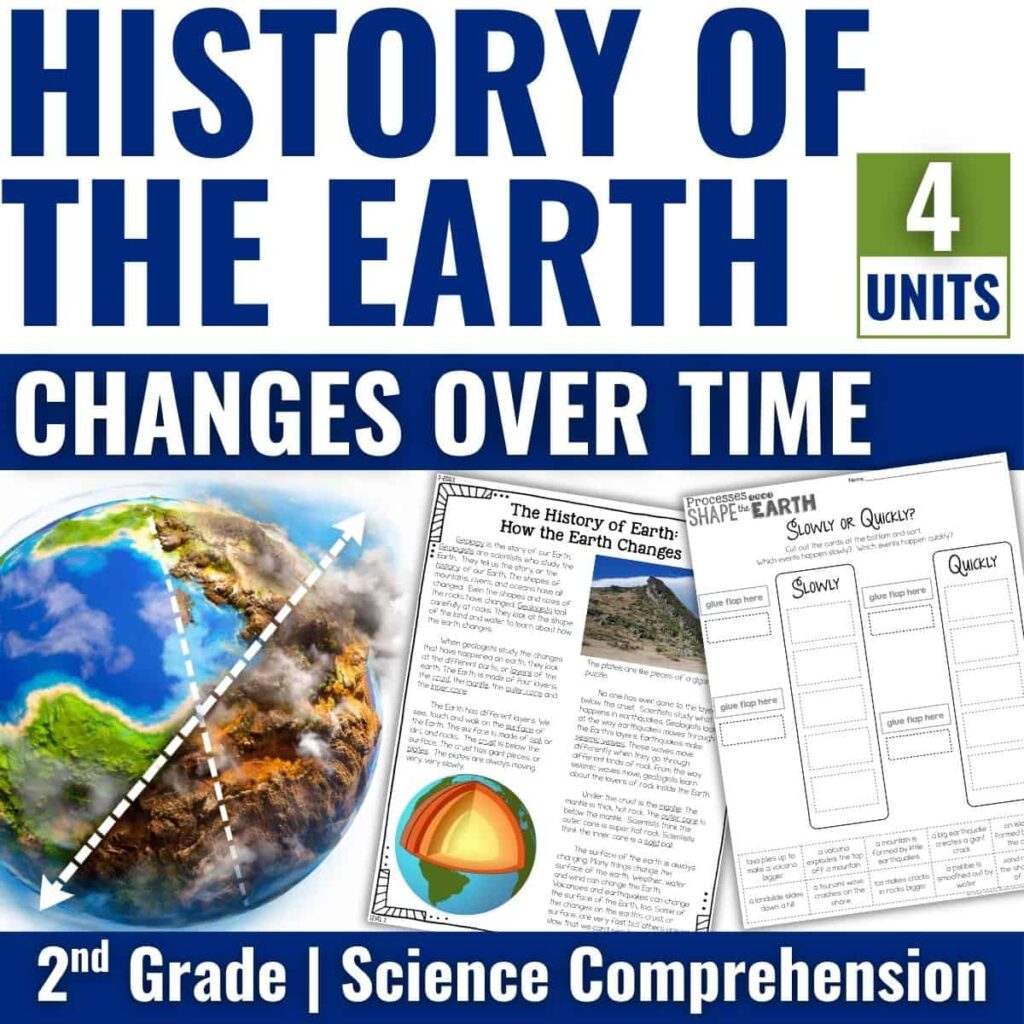
Processes that Shape the Earth – Earth’s Systems
An Earth Science / Earth’s Systems Unit that addresses the second grade Next Generation Science Standards. It focuses on processes that change the Earth’s surface and includes four units.
Landforms Resources for 2nd Grade
Here is a look at the resources I have for this topic:
- MODEL Bodies of Water Landforms 2nd Grade Map Activity — hands-on activity for teaching the difference between landforms and bodies of water
- Location and Map Skills Unit with North America Map — coordinate grids, landform labeling, physical maps of North America
- Maps and Landforms Videos Warm-Up Activity — short video warm-ups for introducing map and landform vocabulary
- Changing Landforms 2nd Grade Reading Passage — nonfiction text with comprehension questions on weathering and erosion
- Fast and Slow Earth Changes Sort — cut-and-paste sort for fast versus slow landform changes
- Processes Shape Earth Science Curriculum — full unit covering the science of how landforms change
Jessica BOschen
Jessica is a teacher, homeschool parent, and entrepreneur. She shares her passion for teaching and education on What I Have Learned. Jessica has 16 years of experience teaching elementary school and currently homeschools her two middle and high school boys. She enjoys scaffolding learning for students, focusing on helping our most challenging learners achieve success in all academic areas.