
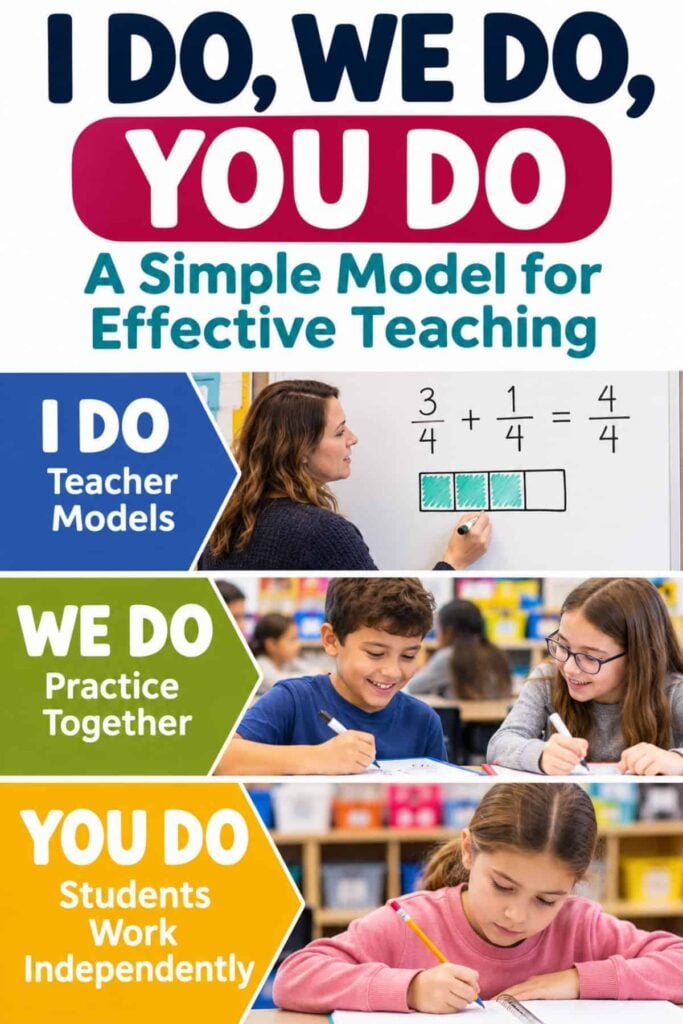
You have probably heard “I do, we do, you do” in a staff meeting or seen it printed in a lesson plan template, maybe without anyone stopping to explain what it actually means. It is one of the most useful teaching models in elementary school, and once you see how the three phases fit together, you will recognize it in almost every strong lesson you have ever taught. The I do, we do, you do model is an explicit teaching strategy that gradually shifts the work of learning from the teacher to the student, in three clear stages.
This post walks through what each phase looks like, why it works, a lesson plan template you can copy, and worked examples for math, reading, and kindergarten.
What Is the I Do, We Do, You Do Model?
The I Do, We Do, You Do model is a three-phase teaching strategy that moves a lesson from full teacher support to independent student work.
In the first phase, the teacher models; in the second, the class practices together with guidance; and in the third, students work independently. The point is never to drop a student into independent work before they are ready, and to pull your support back only as they show they can carry more of the thinking themselves.
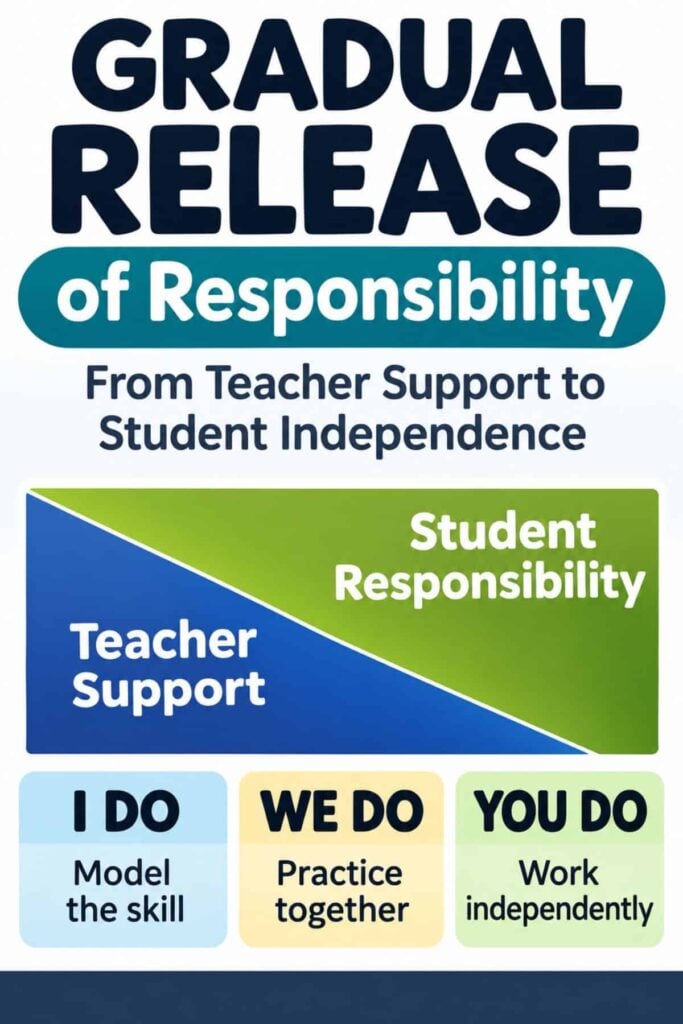
You will also hear this model called the Gradual Release of Responsibility. The idea comes from Pearson and Gallagher’s 1983 research on explicit reading comprehension instruction, where they described how responsibility for a task should shift gradually from the teacher to the learner. Douglas Fisher and Nancy Frey brought it to a wider classroom audience in 2008, and their version is the one most teachers know today. Whether your building calls it gradual release or “I do, we do, you do,” it is the same basic structure.
The Three Phases, Step by Step
One thing to clear up right away: the three phases are not equal thirds of your lesson. I Do is usually the shortest part, and you spend most of your time on guided and independent practice, where the real learning happens. Here is what each phase asks of you and your students.
I Do: Teacher Models
In the I Do phase, you demonstrate the skill while thinking aloud so students can hear your reasoning, not just see the answer. This is direct, explicit instruction, and it should be tight. Keep it short, show one clear example, and narrate your decisions as you go. For a math lesson, that might be solving 3/4 + 1/4 on the board while you say out loud why the denominators stay the same. Students are watching and listening here, not practicing yet. A common trap is letting this phase run too long, which eats up the time students need to practice the skill.
We Do: Guided Practice
In the We Do phase, you and the class work through a problem together. You might solve the next one as a group, call on students to supply each step, or have partners try a problem while you circulate and listen. This is where you catch misconceptions early, before they harden into independent work. We Do usually takes the most time, and it is the phase teachers are most tempted to rush. Stay in it until you see evidence that most students can carry the skill, then release a little more. Circulating during this phase is not optional, since it is how you check for understanding and decide whether the class is ready to move on.
You Do: Independent Practice
In the You Do phase, students work independently so you can see what they have truly learned. This is the assessment-in-disguise part of the lesson: independent work, a center task, or an exit ticket that tells you who has it and who needs another round of guided practice tomorrow. The whole model builds toward this moment, and it only works if the first two phases did their job. If students struggle here, it usually means We Do ended too soon.
Why It Works: Scaffolding and Gradual Release
This model holds up because it matches how people actually learn a new skill. When something is unfamiliar, doing it all at once overloads working memory. By modeling first, you carry that load for students and let them focus on one piece at a time. Then you hand the work over in steps, which is the heart of scaffolding: support that is there when students need it and removed as they show they can do without it.
This is also why checking for understanding between phases matters so much. Gradual release of responsibility is not a script you run start to finish no matter what. It is a decision you keep making, releasing more only when students show they are ready. The model sits inside a large body of explicit instruction research, including the work of Anita Archer and Charles Hughes on explicit teaching, and literacy researchers have long pointed to its strong track record for teaching reading comprehension.
Timothy Shanahan has a helpful piece on how gradual release of responsibility works in practice, including the reminder that strong lessons often cycle back and forth between the phases rather than marching through them once.

If you are thinking about how to adjust support for different learners within this structure, it pairs naturally with differentiated instruction, since the amount of guided practice a student needs is rarely the same across a class.
How to Write an I Do, We Do, You Do Lesson Plan
Writing a lesson around this model is simpler than it sounds once you have a structure to drop your content into. You do not need a fancy form. A consistent routine, used the same way each time, is what makes it fast to plan and easy for students to follow.
A Simple Template You Can Copy
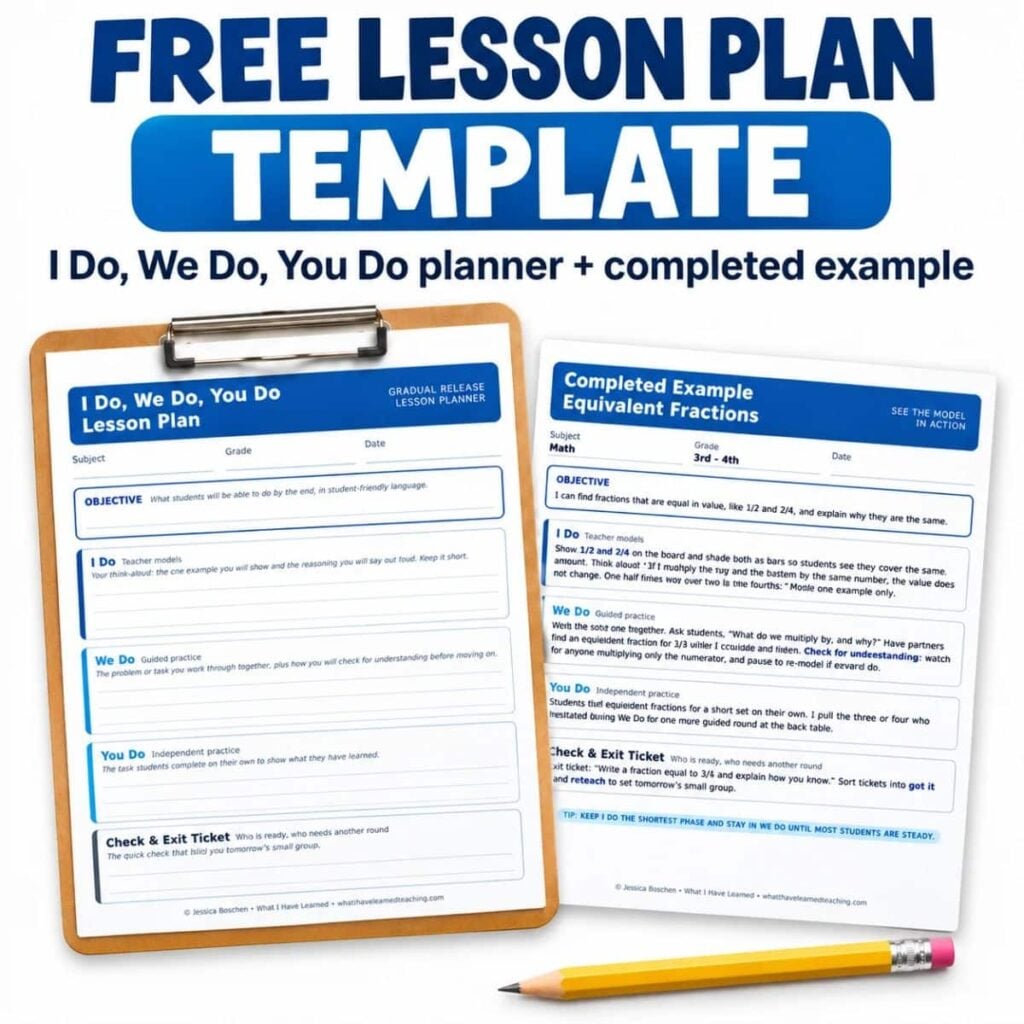
Here is a five-part I do, we do, you do lesson plan template. Set it up as a table so you can reuse it for any subject and easily turn it into a printable for your clipboard.
| Lesson Part | What You Write |
|---|---|
| Objective | The one skill students will be able to do by the end, in student-friendly language. |
| I Do (model) | Your think-aloud script: the single example you will demonstrate and the reasoning you will say out loud. |
| We Do (guided practice) | The problem or task you will work through together, plus how you will check for understanding before moving on. |
| You Do (independent practice) | The task students complete on their own to show what they have learned. |
| Assessment / Exit Ticket | The quick check that tells you who is ready to move on and who needs another round tomorrow. |
Fill in each row, and you have a complete lesson. The exit ticket row does double duty, giving you tomorrow’s small group without any extra planning.
I Do, We Do, You Do Examples by Subject and Grade
The model looks a little different depending on what you teach and how old your students are. Here is how the same three phases play out across math, reading, and a kindergarten lesson.
Math Example
Say you are teaching equivalent fractions in third or fourth grade. In the I Do, you show 1/2 and 2/4 on the board, draw both as shaded bars, and think aloud about how multiplying the top and bottom by the same number keeps the value the same. In the We Do, the class works the next example with you, and you ask students what to multiply by and why, watching for anyone who multiplies only the numerator. In the You Do, students find equivalent fractions for a short set on their own while you pull the three or four who hesitated during guided practice.
For a deeper, already-written lesson in this format, my step-by-step math lesson example for place value shows the same gradual handover with younger students.
Reading Example
In reading, the model fits both phonics and comprehension. For a comprehension strategy like asking questions while reading, you first model it in the I Do by reading a few sentences aloud and stopping to voice a question you have as a reader. In the We Do, you read the next section together and have partners generate a question using a stem you provide, then share a couple aloud. In the You Do, students read independently and jot their own questions.
A set of guided reading question stems is useful here, since it gives students the language during the We Do phase and a scaffold to lean on before they do it alone.
Kindergarten Example
With kindergarten, the phases are shorter, and the modeling carries more weight. For teaching a letter sound, your I Do might be whole-group modeling with a hand motion or a short song, repeated a few times so it sticks. The We Do is guided practice with manipulatives, like having students push a chip for each sound while you do it alongside them. The You Do is independent center work, matching picture cards to the sound, kept simple enough that most students can succeed without you hovering. Young students need more I Do and more We Do before they are ready for You Do, and that is exactly how it should be.
Common Mistakes That Undercut the Model
The structure is simple, but a few habits quietly weaken it. Watch for these:
- Skipping We Do. Jumping from your model straight to independent work is the most common mistake. Students need the guided middle to try the skill with a safety net before they are on their own.
- Releasing before checking. Moving to You Do because the clock says so, not because students showed they were ready, sets up a lot of struggle. Release based on evidence, not time.
- Making I Do too long. A long demonstration feels productive but leaves too little time for the practice that actually builds the skill. Keep the model tight.
- Not circulating during We Do. If you stay at the front during guided practice, you miss the misconceptions you are there to catch. Move through the room and listen.
Posters, Slides, and Other Visual Reminders
A simple three-column anchor chart labeled I Do, We Do, You Do helps younger students track where they are in a lesson and what is expected of them at each point. The same three labels work as section headers on your lesson slides or a PowerPoint, which keeps you honest about including all three phases and signals the shift to students as you move through them. You do not need anything elaborate here, just a consistent visual that names the phase you are in.
If you are building a toolkit of classroom strategies, the jigsaw method is another step-by-step approach worth keeping next to this one, especially for lessons where you want students teaching each other during the independent phase.
Frequently Asked Questions
Bringing It All Together
The I do, we do, you do model works because it refuses to leave students stranded. You show them how, you practice together until they are steady, and then you step back and let them prove they have it. Keep modeling short, stay in guided practice longer than feels comfortable, and release only when evidence shows students are ready. Do that, and the three phases will carry almost any lesson you teach.
Jessica BOschen
Jessica is a teacher, homeschool parent, and entrepreneur. She shares her passion for teaching and education on What I Have Learned. Jessica has 16 years of experience teaching elementary school and currently homeschools her two middle and high school boys. She enjoys scaffolding learning for students, focusing on helping our most challenging learners achieve success in all academic areas.